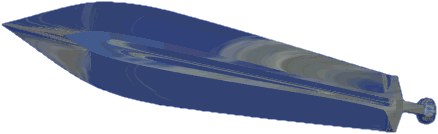
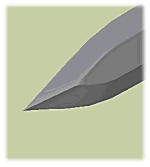
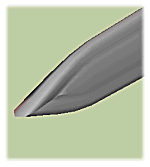
After quite a long period of silence, here's a new episode to add in the sPatch tutorial serie. It's a very short one but it's emphasizes an important point of modeling with sPatch. I needed a suitable object to make my point so I chose swords and blades in general. Swords are fairly common objects in raytraced imagery but they quite often lack in quality, so why not kill two birds with one stone. I still haven't explained what this important sPatch technique is ... don't worry I will in due time!
![]() a
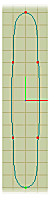
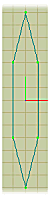
simple sharp profile
a
simple sharp profile
 |
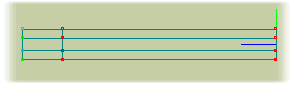
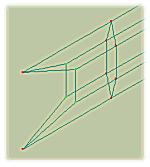
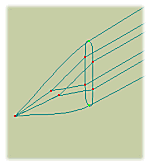
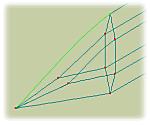
Use add tool Weld the end points in order to obtain a closed loop. To make the blade sharp, use the peak tool Note: for the purpose of this tutorial I chose a very simple double sided blade profile. But you can draw a more complex one. It is especially interesting to add segments in the central body of the blade. This will allow you to create grooves and bumps on the blade body. The rendered sword used in the title was created that way with a central groove running along the blade. |
 |
| Extrude |
 |
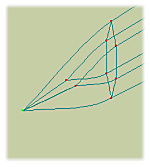 |
Pick Translate Now use the scale tool Release that selection (press Enter) and pick You just created a really neat sword blade without any problems :-) Thanks to sPatch! |
 |
 |
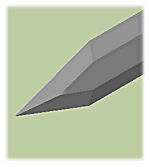
Modeling that blade was actually so simple
that you think it does not deserve a tutorial. Well it does! I can prove
it.
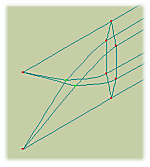
Select Now if you peak Argh, the only way to get the original shape back is to
use peak tool |

 |
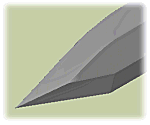
The moral of this tutorial is this one. When modeling
an object you want sharp ![]() in
one direction and round
in
one direction and round ![]() in
the other you should always proceed as for this sword. Draw the sharp profile,
and extrude it to obtain a curve. This is the most efficient way to obtain
the shape you desire. Trying to extrude the smooth profile along a sharp
path will lead to painfull cession of TABing to smooth individual
edges.
in
the other you should always proceed as for this sword. Draw the sharp profile,
and extrude it to obtain a curve. This is the most efficient way to obtain
the shape you desire. Trying to extrude the smooth profile along a sharp
path will lead to painfull cession of TABing to smooth individual
edges.
This is summarized in The
sharp/curvy mini tutorial.